VirtualBoxにUbuntu18.04をインストール(SSH接続するまで)
2019年も変わらずLinuxディストリシェアトップをキープしたUbuntuをVirtualBoxでインストールします。

SIerだとRedhatと繋がりのある企業傘下で開発することが多い(気がする)のでお仕事でUbuntuを使うことは、RHEL(Red Hat Enterprise Linux) or CentOSと併せて半々くらいなイメージです。
ただWeb系だとLinuxはUbuntuが多いですし、Ubuntuでしか出来ない事(Android版Chromiumのビルドとか)もあるので、Ubuntuの環境持ってないよ、という方はVirtualBoxで入れておけば事足ります。
環境
- Windows 10
- VirtualBox 6.0.4
- Ubuntu 18.04.3 LTS
VirtualBoxインストール
最新版をインストールしておきます。今回は6.0.14。

Ubuntuのisoファイルをダウンロード
18.04.3 LTSをダウンロード。後でVirtualBoxから読み込みます。

VirtualBoxの設定
VirtualBoxを起動し、新規VMを作成

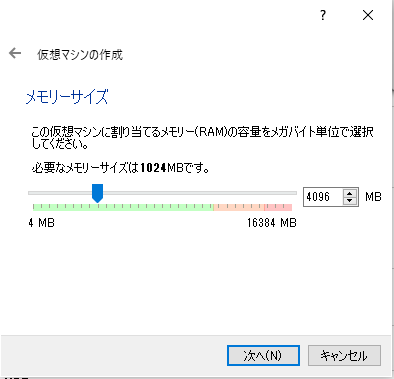
メモリサイズ設定。最低限8Gbyteは欲しいところ。
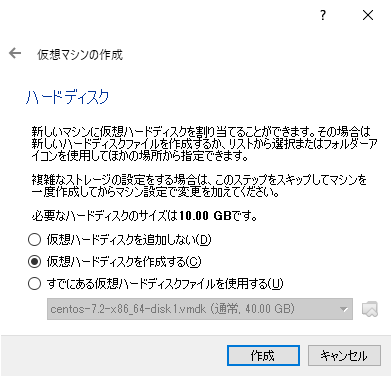
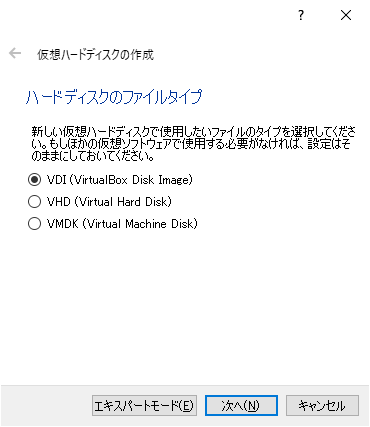
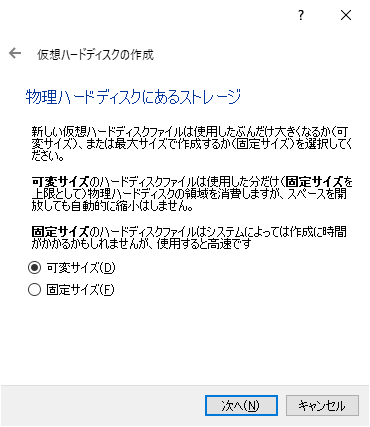
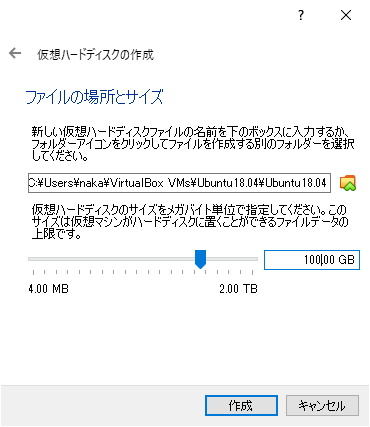
ハードディスクサイズ設定。用途によってお好きな容量で。
(Chromiumをビルドする場合は100Gbyteは最低限必須)
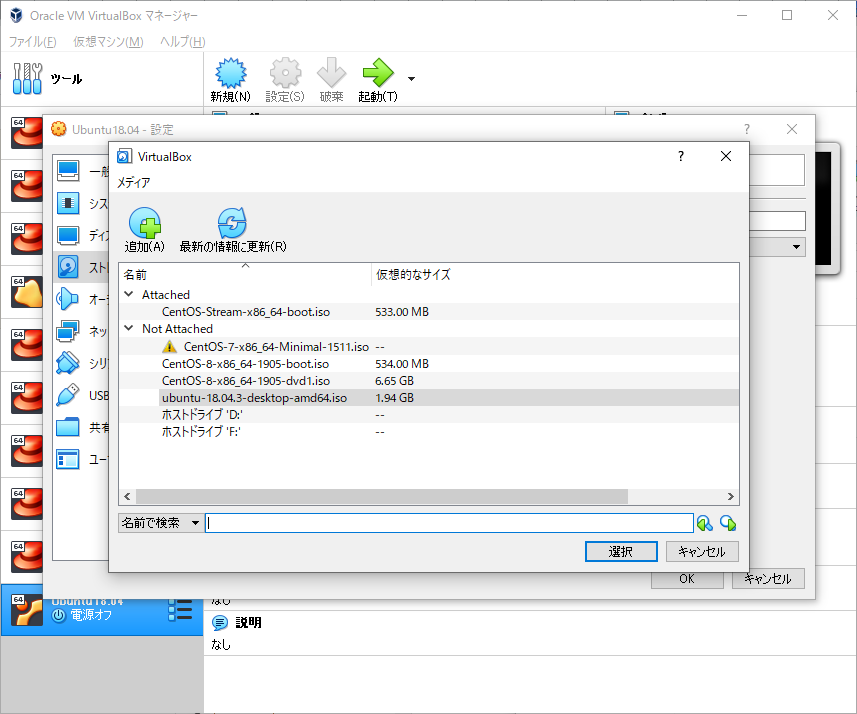
「設定」→「ストレージ」から光学メディアを追加。ダウンロードしたubuntuのISOファイルを指定後、起動。
Ubuntuインストール
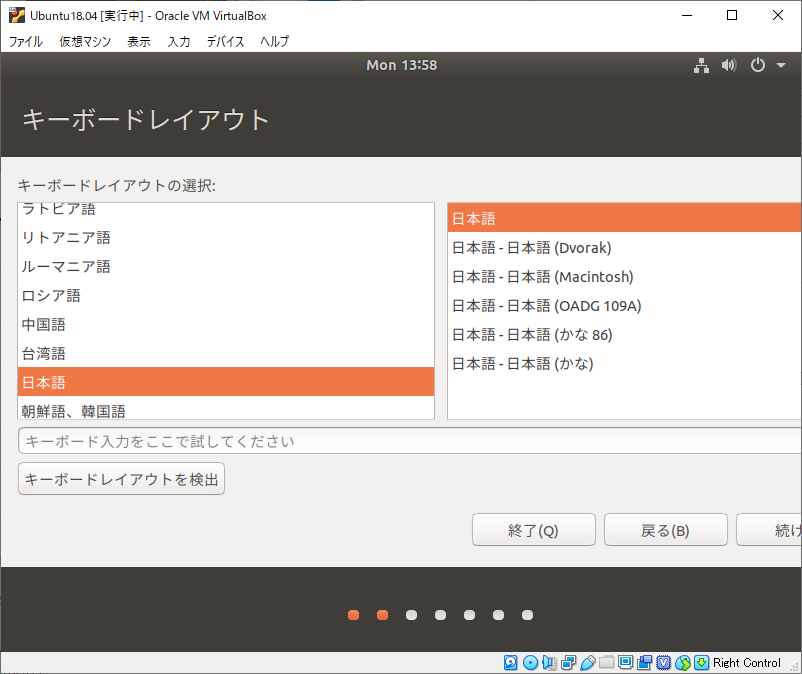
「日本語」に設定。
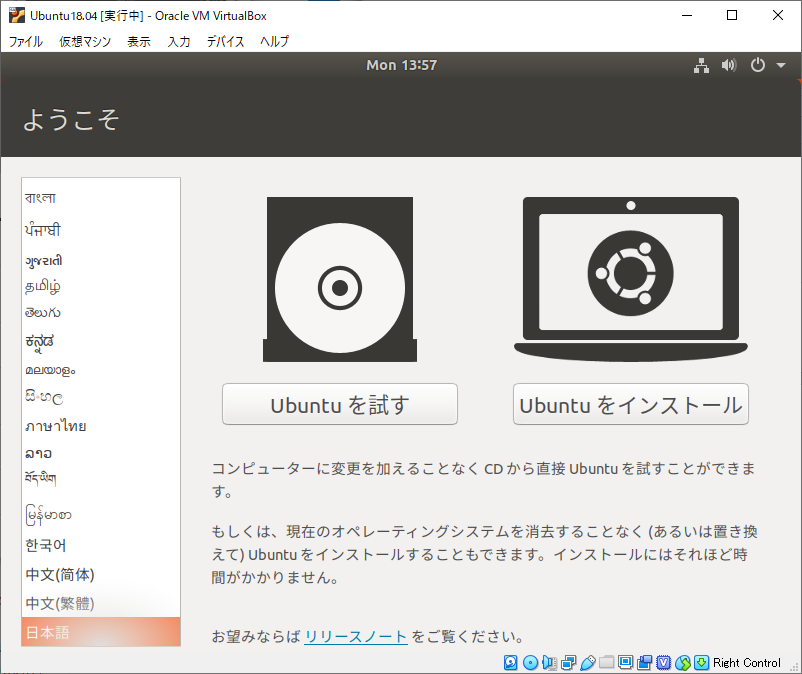
日本語に設定。
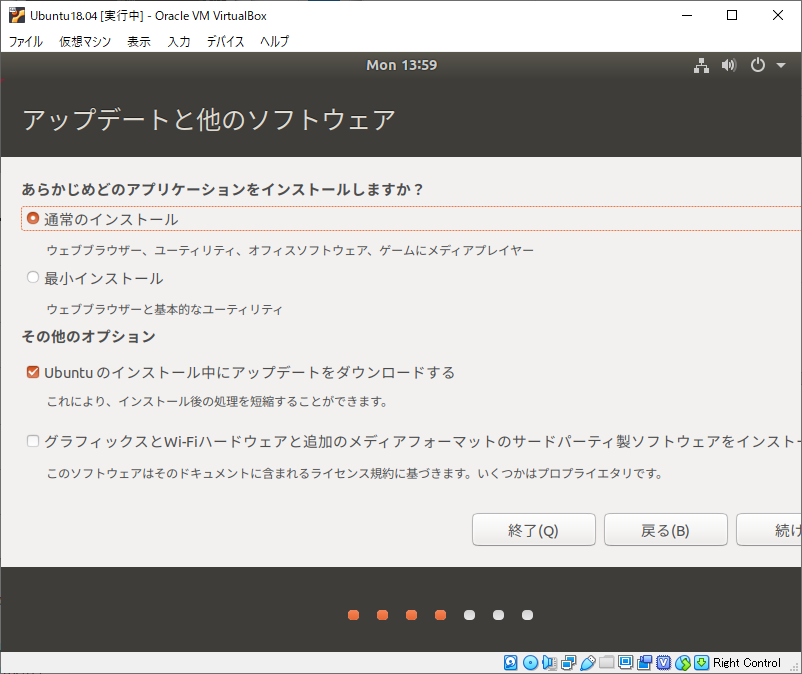
通常のインストール
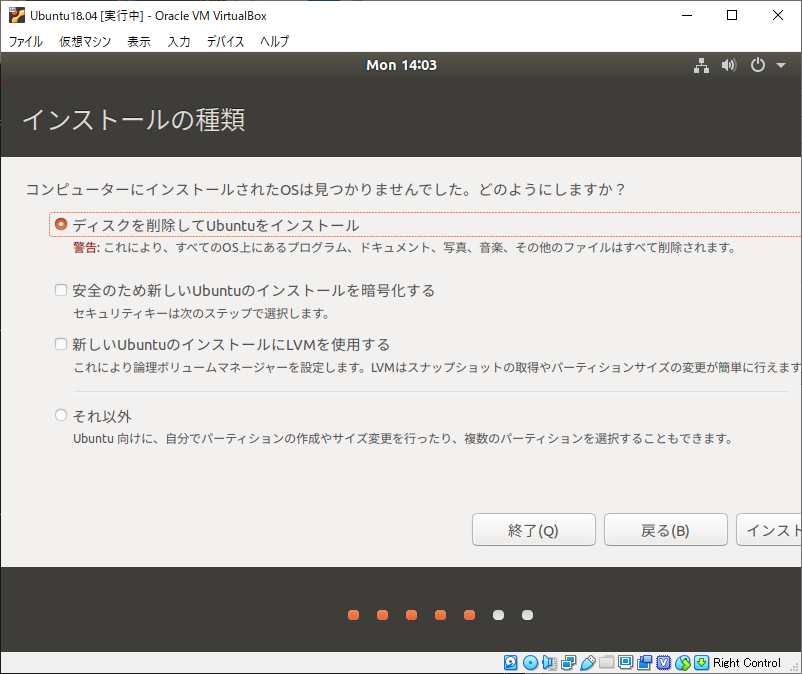
ディスクを削除してUbuntuをインストール
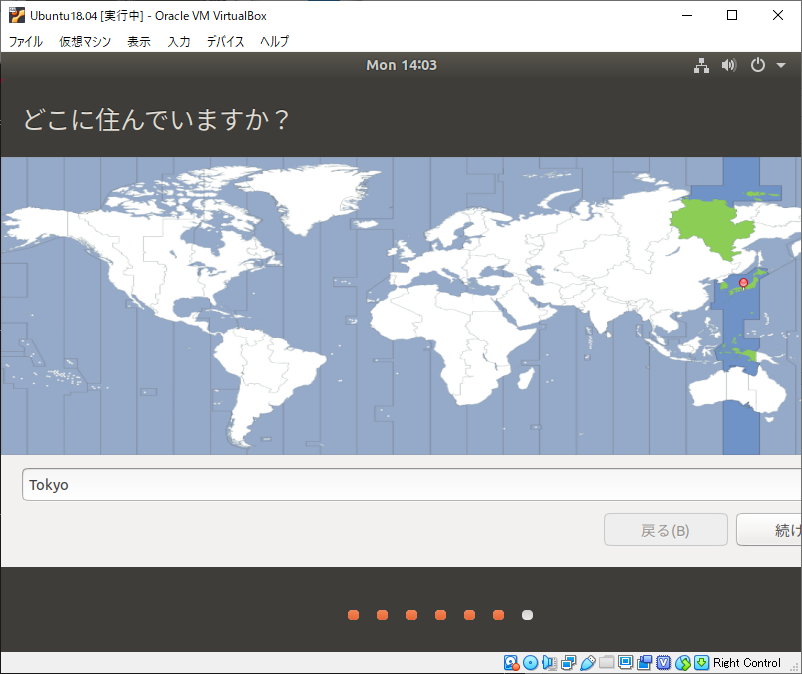
Tokyo
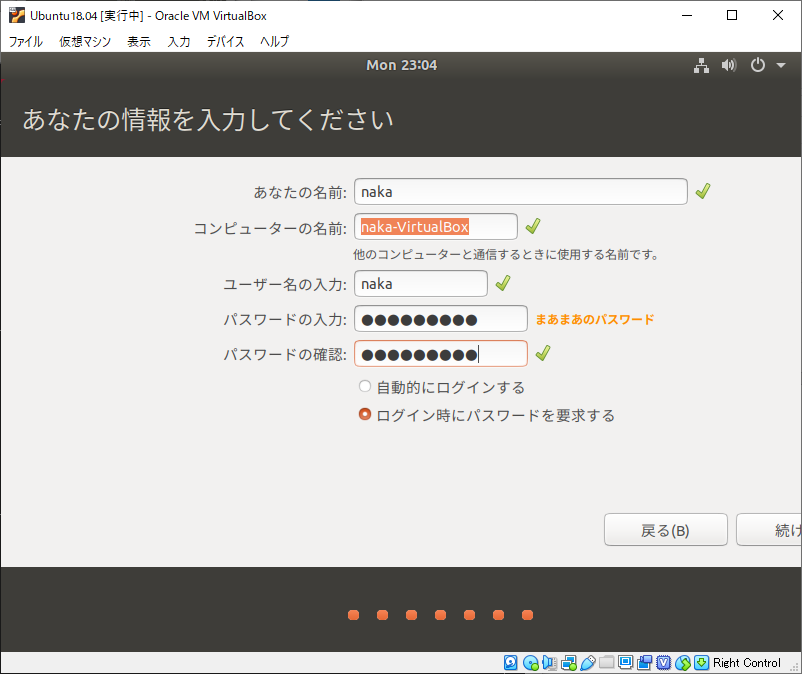
ユーザ作成。
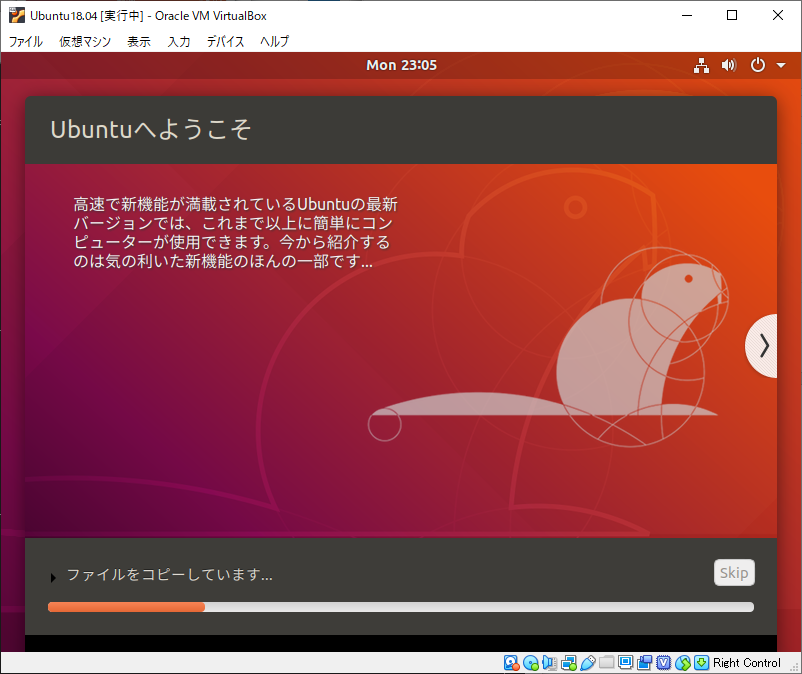
インストール中。気長に待つ。
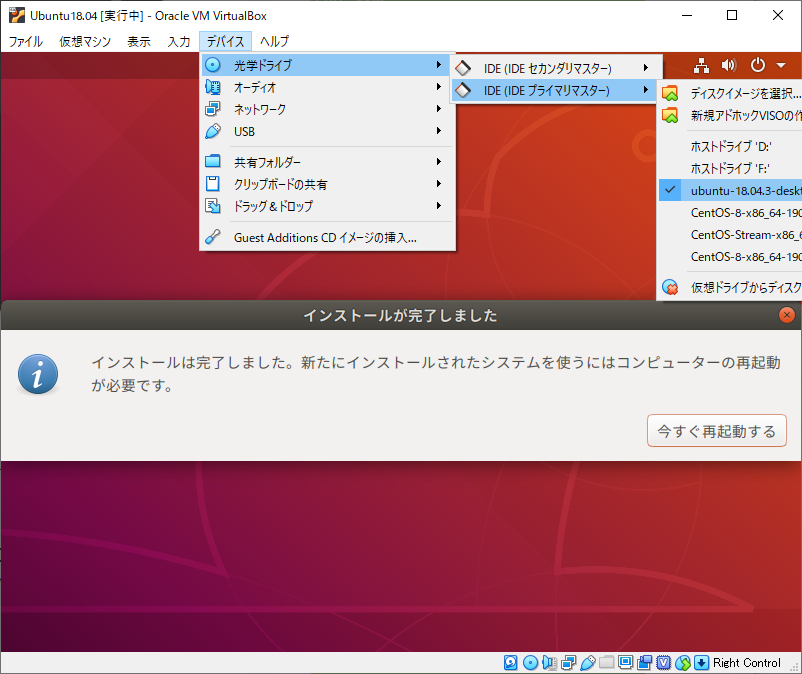
インストール完了。
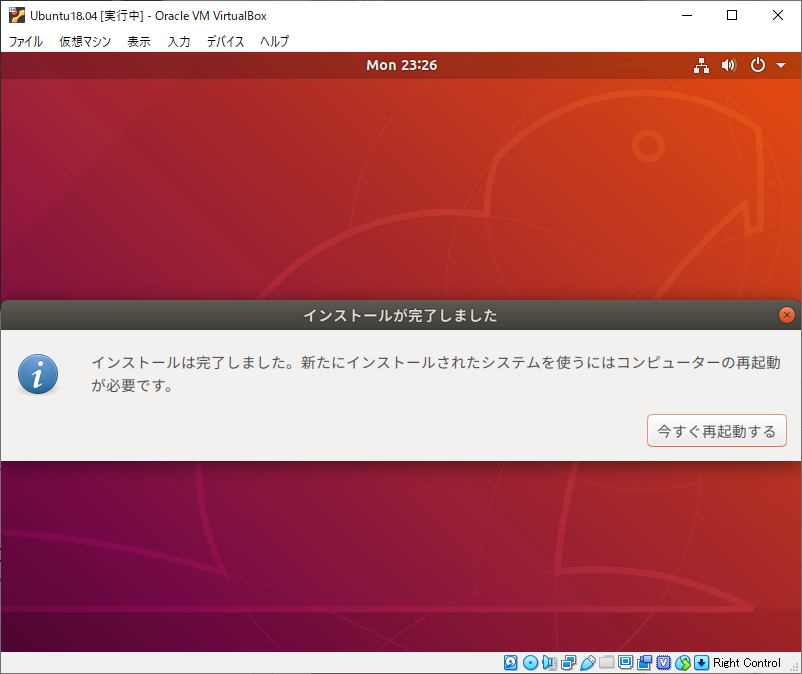
再起動前に光学ドライブからisoファイルを抜いておく。
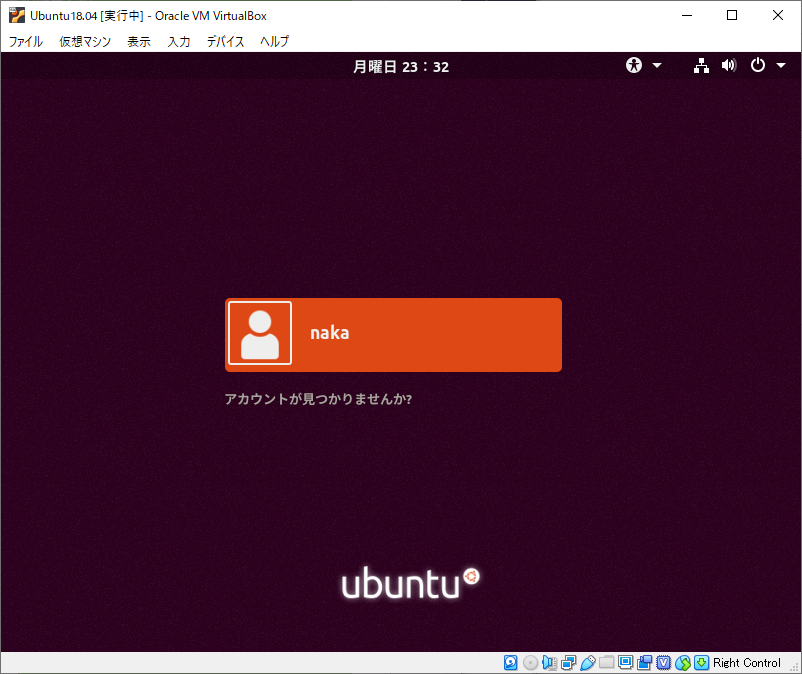
再起動してログイン。
設定ウィザードを終わらせる。
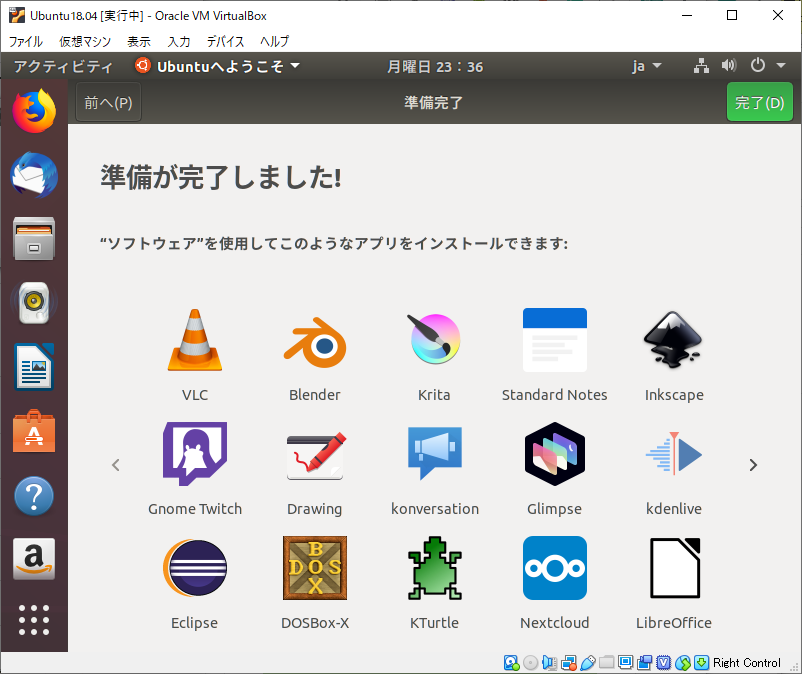
インストール完了です。
インストール後設定
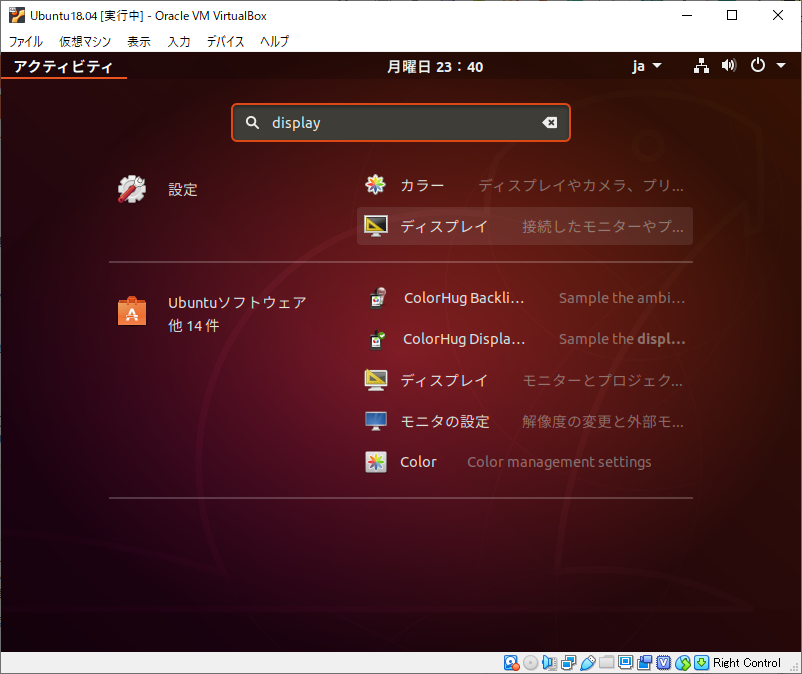
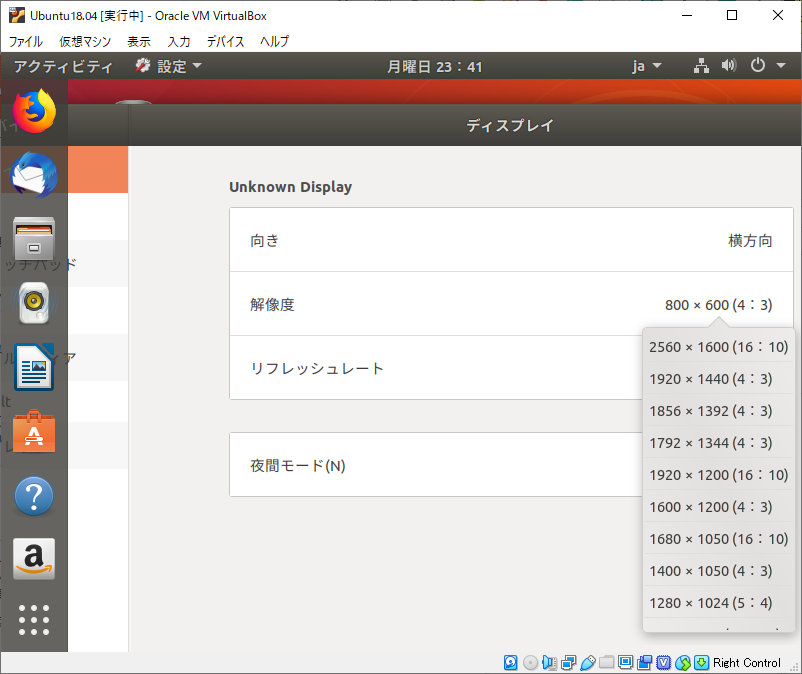
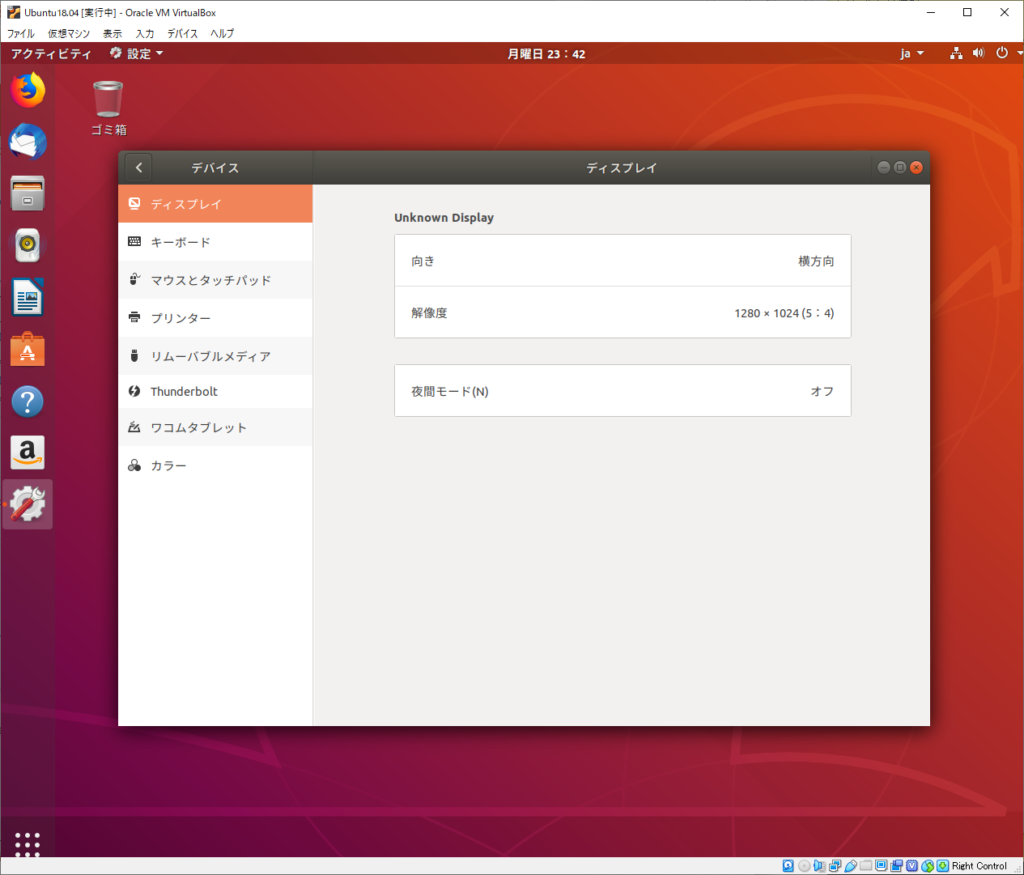
解像度を上げる
デスクトップ左下のアイコンからアクティビティを開き、「display」で検索。
好みの解像度に設定。
SSHサーバをたてて外部から接続
ターミナルを起動してOpenBSD Secure Shell Serverインストール。
$ sudo apt install sshsshサーバが起動したか確認。
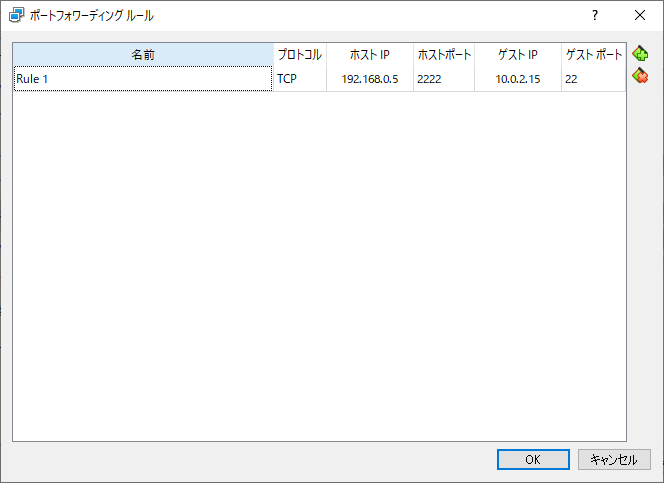
$ systemctl status sshOracle VM VirtualBox マネージャー画面から「設定」→「ネットワーク」→「高度」→「ポートフォワーディング」。
ホストIPの任意ポート(今回は192.168.0.5:2222)をゲストOSのSSHポート(10.0.2.15:22)にフォワードさせる。
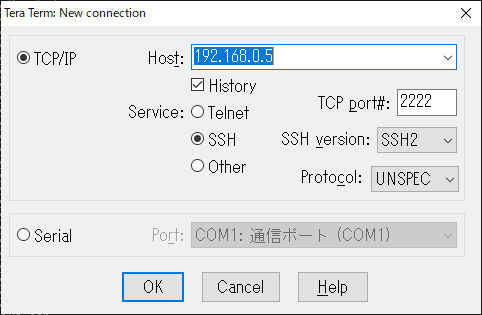
teraterm等SSHクライアントで接続。
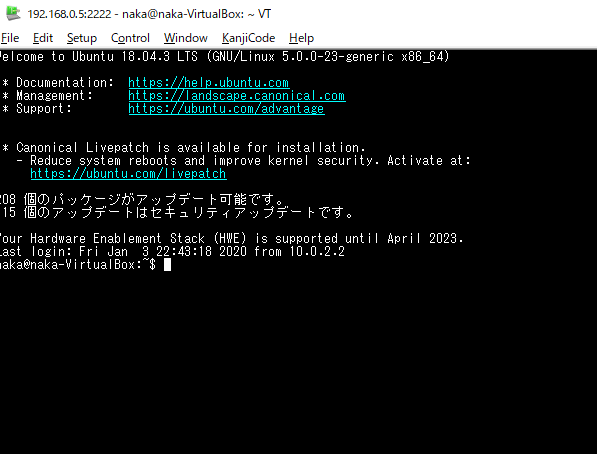
Ubuntuの開発環境が手に入りました。
プログラム開発環境にするも良し、機械学習を勉強するも良し、Chromiumのビルドをしてみるも良し。活用していきましょう。